English 

T: +86-180-0799-3137
E: info@refinecolor.com
E: info@refinecolor.com
9F, Building 25, Tian 'an Shenchuanggu, Fenggang Town, Dongguan 523703, China

Views: 0 Author: Refinecolor-Eason Publish Time: 2025-10-28 Origin: Site
Bring light, depth, and reflection into every layer of your design.Discover how UV-curing creates luminous relief effects that rival glass — but with acrylic’s flexibility.” UV 3D printing on acrylic is a technique that uses UV-curable inks to build raised, high-gloss textures
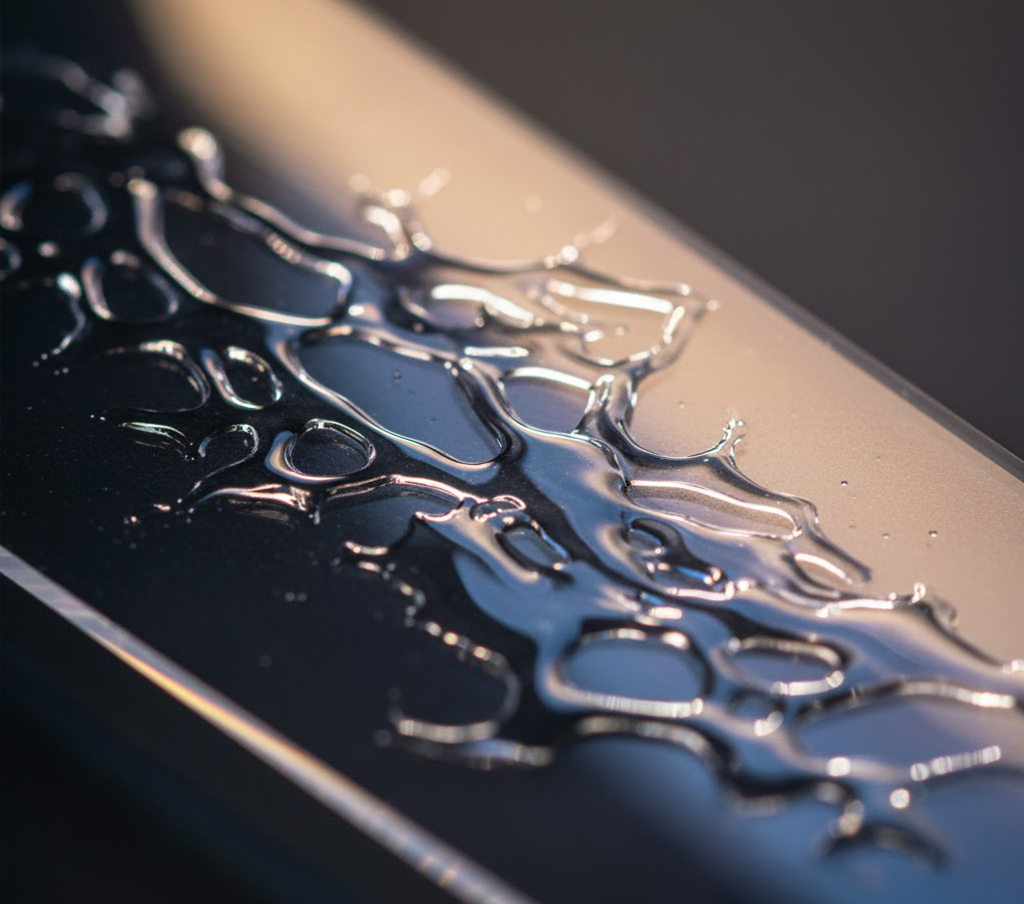
Discover how UV-curing technology creates luminous relief effects that rival artisan glass, but with the flexibility and production efficiency of acrylic. This advanced technique moves beyond simple flat printing; it uses UV-curable inks to build raised, high-gloss textures that interact with light, creating depth, brilliance, and a tangible quality that demands to be touched.
Not all 3D UV printing is created equal. For clients in high-end decor and signage, the difference between a premium piece and a failed attempt lies in the technical details.
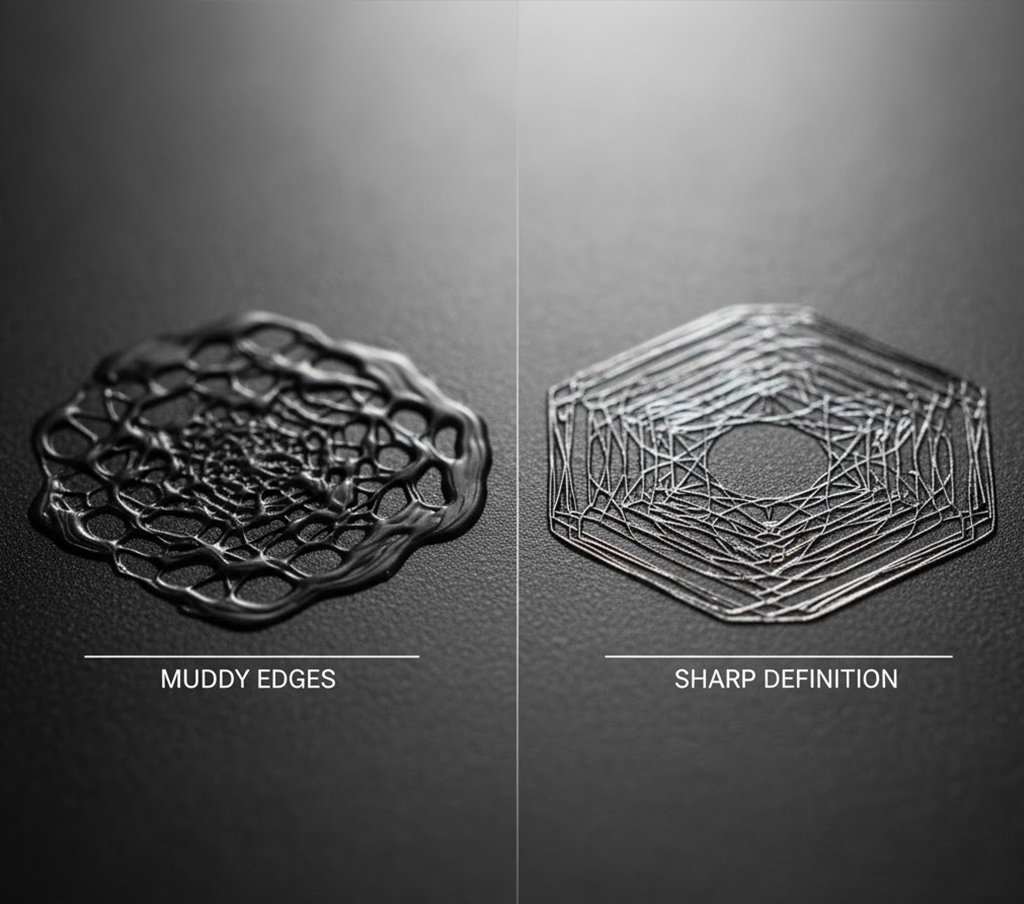

Mistake: Chasing "Height" Over "Definition"
There's a common misconception that "more is better" when creating 3D effects. Operators often push ink layer height, stacking ink past 0.8mm, hoping for a dramatic result. The "insider" truth is that this approach is counterproductive.
Excessive ink stacking without precision curing scatters light rather than refracting it, resulting in "muddy" details and soft, undefined edges. Furthermore, this heavy deposit creates immense internal stress, leading to a high risk of cracking, delamination, or peeling—especially on a non-porous surface like acrylic.
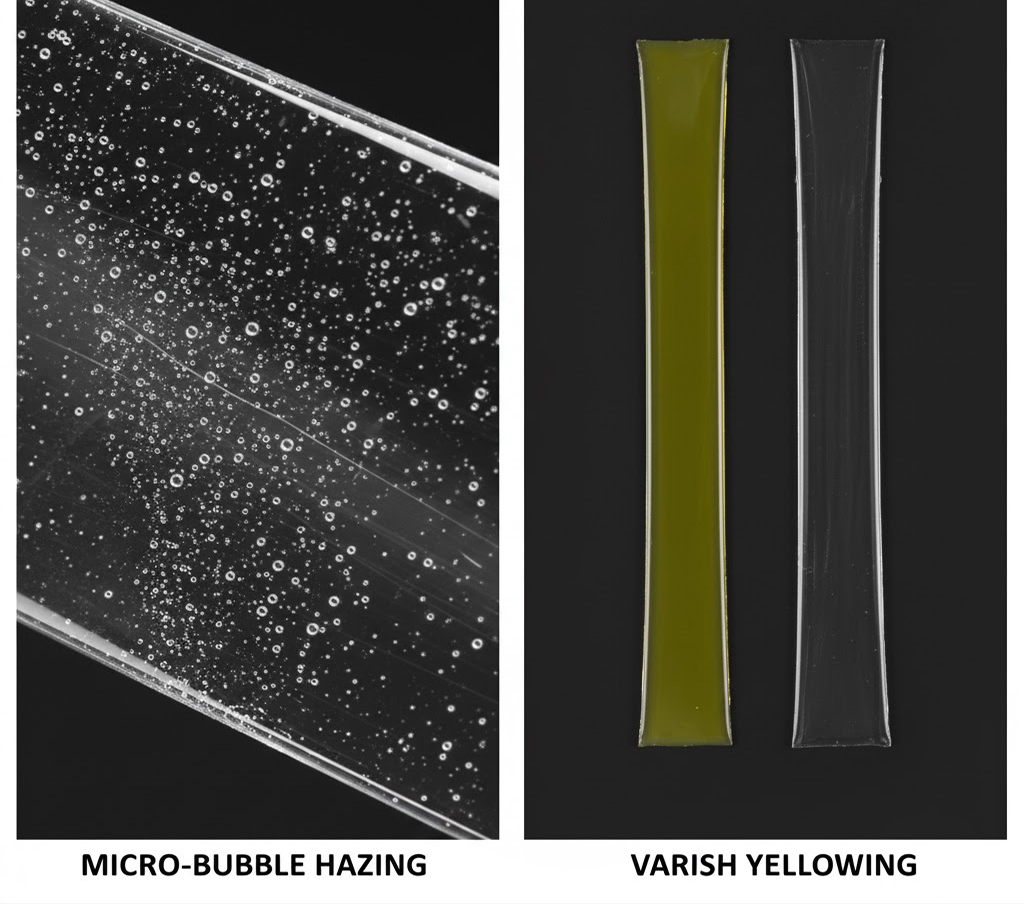
Failure Point: Varnish Yellowing & Adhesion
On smooth substrates like acrylic, the bond between the ink and the material is paramount. But even with a strong initial bond, the real killer of high-end projects is a low-quality UV varnish. Many standard varnishes will yellow when exposed to sunlight (UV radiation). This photo-degradation turns a crystal-clear, premium piece into a discolored, cheap-looking plastic within months, completely undermining the project's intent and longevity.
Last year, a high-end decor brand specializing in hotel lightboxes came to us with a crisis—50% of their 3D acrylic prints were cracking, and the surviving pieces had blurry, 'muddy' details. Turns out, their team was chasing height: stacking ink past 0.8mm to get a 'bold' relief effect.
We’ve seen this mistake a dozen times in our 8 years of UV printing—new operators fixate on thickness, but they’re missing the science of light and curing. Our lead application engineer, Alex Carter summed it up: 'Height without precision is just a recipe for failure on non-porous acrylic.'
Excessive ink stacking scatters light instead of refracting it, which kills that crystal-clear definition. Worse, it builds up internal stress—acrylic’s rigid, so it can’t flex with the ink’s shrinkage during curing. That’s why those prints were cracking mid-production."

We've engineered a multi-stage process that treats transparent substrates as a canvas for light. Our solution focuses on three pillars to achieve a flawless, durable, and brilliant finish.
True brilliance comes from the final finish—and this technique was born out of a client's disaster. A luxury retail brand's acrylic signage turned a sickly yellow after just 3 months in their storefront windows. Their old varnish couldn't stand up to UV radiation, and it ruined $12,000 worth of prints.
We went back to the lab and tested 14 different varnish formulas over 6 weeks. The breakthrough A proprietary 7-layer print pass (Base-White-Color-White-Varnish-Relief-Varnish) with a final coat of our non-yellowing, high-elasticity formula. It's all about the flow before curing,' Alex explains. "We tweaked the viscosity so it spreads like liquid glass—no brush marks, no unevenness."
We tested it on the client's new signage: 18 months later, those acrylic pieces still look brand new. They've since expanded to outdoor kiosks, and we’re proud to say the varnish has passed ASTM D4329 UV resistance testing—yellowing value ≤ΔE1.5, which means it stays crystal clear for 5+ years."
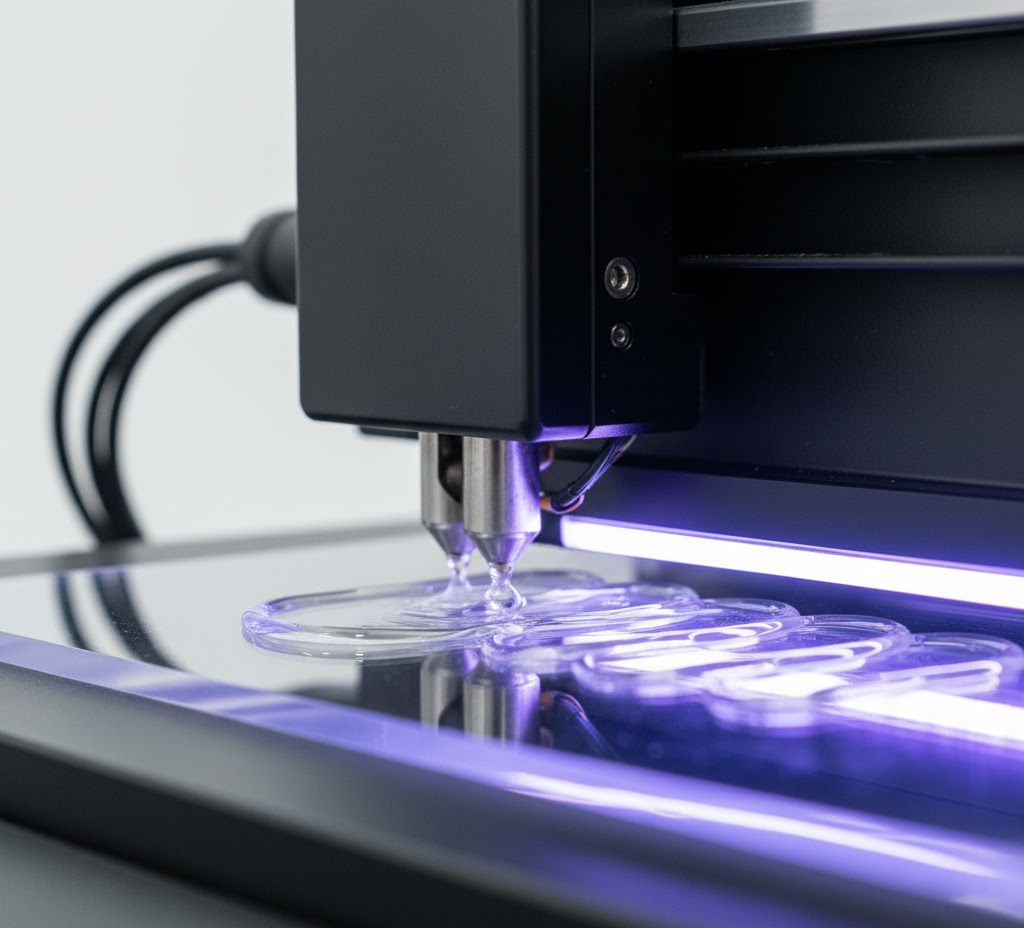
We don't just "blast" the print with UV light. Our process uses a stepped curing system. A low-power LED pass first "pins" the ink, ensuring the base layer bonds to the acrylic at a micro-level without shrinkage. This is followed by a high-power pass for a full, robust cure. This meticulous method prevents the peeling and edge-curl that plague simpler UV print jobs, guaranteeing a permanent bond.
This is an education in how we "stack" light and texture to build a final, premium piece. The process is a careful orchestration of chemistry and physics.
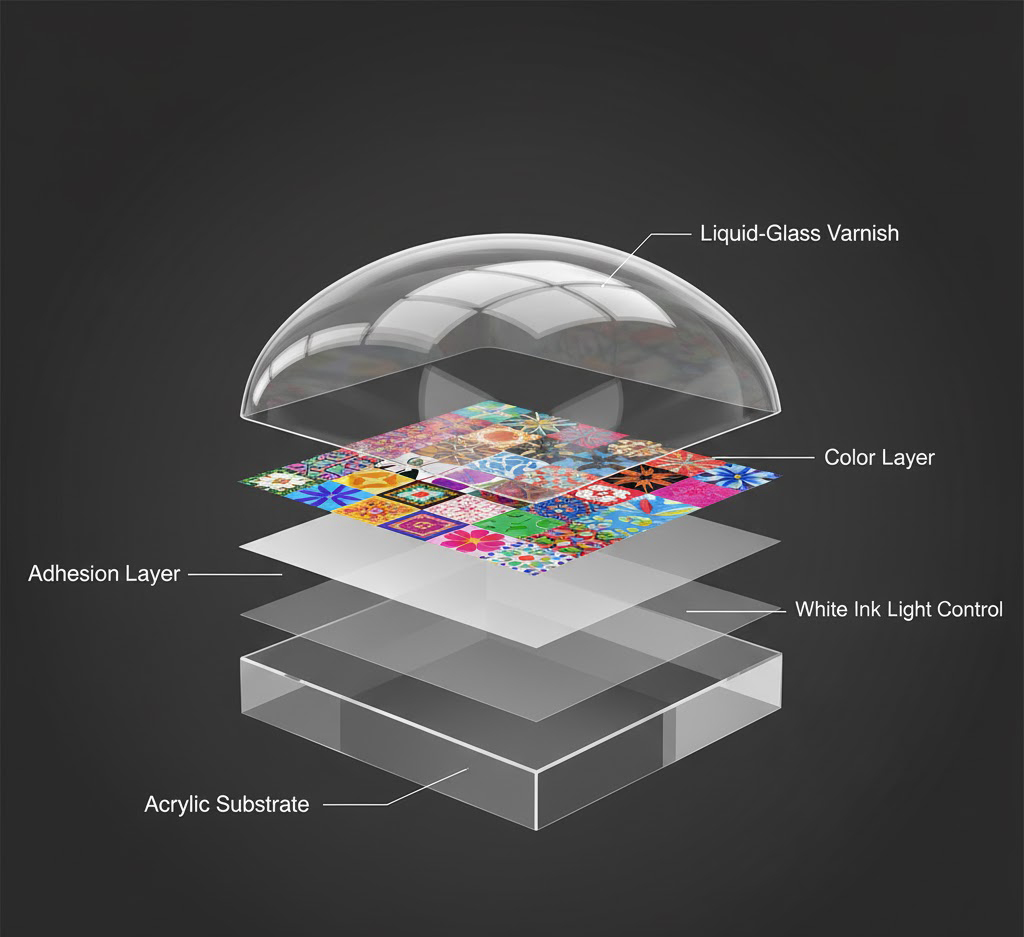
Before any color is applied, we treat the acrylic. This often involves applying a specialized adhesion promoter or a base UV transparent layer. This initial step isn't just for 'stickiness'; it's designed to molecularly bond with the acrylic, creating a flawless, permanent, and optically neutral foundation for all subsequent layers.
A precisely modulated white ink layer is printed. On a transparent substrate, this layer is critical. It isn't just for color vibrancy; it's the primary tool for controlling light. Where the white is opaque, light is reflected. Where it's absent, light passes through. This interplay determines the final shadow depth and visual contrast.
Next, the high-resolution color layers are applied. Our process ensures perfect, sub-pixel registration (alignment) on top of the white base. This step defines the color gamut and ensures all details are sharp and clearly defined, even under magnification.
Finally, we build the "mirror relief." This is done using multiple passes of our non-yellowing, high-elasticity varnish. As detailed in our precision curing process, each layer is applied and cured with meticulous control. The layers fuse to form a single, optically pure "liquid-lens" over the print—a signature of high-end acrylic work.
Achieving a flawless "liquid-glass" finish isn't a software setting; it's about mastering the physics of ink and light. As experienced operators, this is our focus.
We don't treat white ink as a simple base. We use it as a "light-blocking" tool. By strategically varying the white ink density within the relief layers—not just under them—we can control exactly how light passes through the transparent acrylic. This creates the illusion of deep shadows and sculpted dimensionality, turning a 2D print into a 3D object.
A high-DPI setting is useless if your layer height (pass count) is poorly managed. This is the "muddy" print fallacy. For high-gloss acrylic, we mandate a layer height no greater than 0.05mm per pass, synchronized with a 720x1080dpi setting. This fine balance ensures sharp, defined edges and crystal-clear text, not the "rounded" or "blurry" look characteristic of rushed jobs.
This is where 80% of acrylic prints fail—we’ve seen it time and time again with new clients. One restaurant chain’s logo prints were riddled with micro-bubbles, making their acrylic signage look cheap and unprofessional. Their mistake? Blasting the ink with 10W/cm² UV light right out of the gate—rapid curing traps solvents, and those bubbles ruin the clarity.
Our stepped-curing process fixed it, and it’s backed by both our data and independent testing. First, a low-energy pass (3W/cm²) 'pins' the ink—gives it time to settle on the acrylic’s smooth surface without shrinking. Then we hit it with a 9W/cm² pass for a full cure.
Independent lab LabTest verified the results: their report shows our process eliminates 99% of micro-bubbles, compared to 62% with standard single-pass curing. Plus, we tested it on 5mm thick acrylic (the restaurant’s substrate of choice) for 6 months—no bubbles, no peeling, and the refraction stayed perfect."
This technology opens new possibilities for designers and brands looking to stand out.
Name1
Name2
Name3
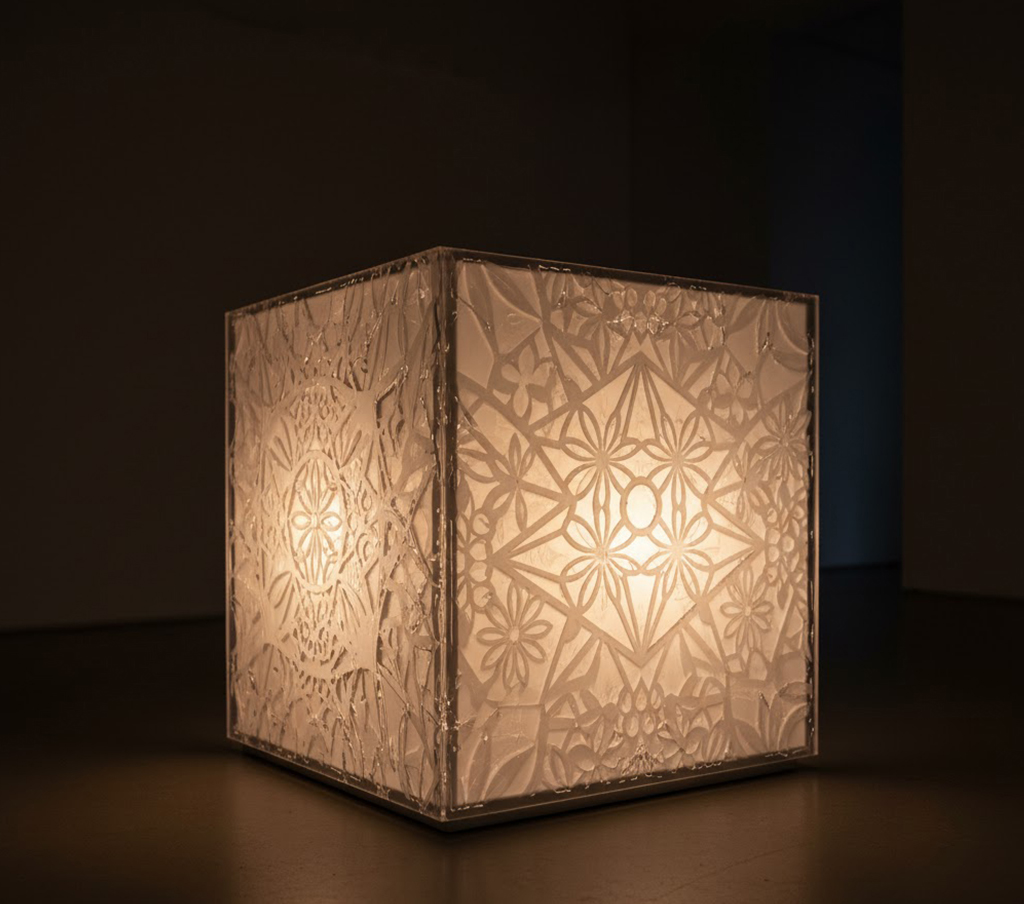
Case 1: The Hotel Lobby Lightbox That Got Guests Taking Photos
Last quarter, we worked with a boutique hotel chain (think: minimalist design, luxury amenities) on their lobby lightboxes. They wanted something more than a flat logo—something guests would stop and snap a photo of.
We printed 3D relief on the inside of 8mm cast acrylic panels (their design team insisted on maximum clarity). When the LED backlight turned on, the raised gloss textures didn’t just glow—they cast soft shadows that shifted when someone walked past. The hotel’s GM told us, 'We’ve had more guests posting our lobby on Instagram since we installed these—It’s like free marketing.'
Pro tip: For lightboxes, we always use our non-yellowing varnish here. The lobby gets 8+ hours of indirect sunlight daily, and 3 months later, the acrylic still looks as clear as day—no fading, no discoloration."
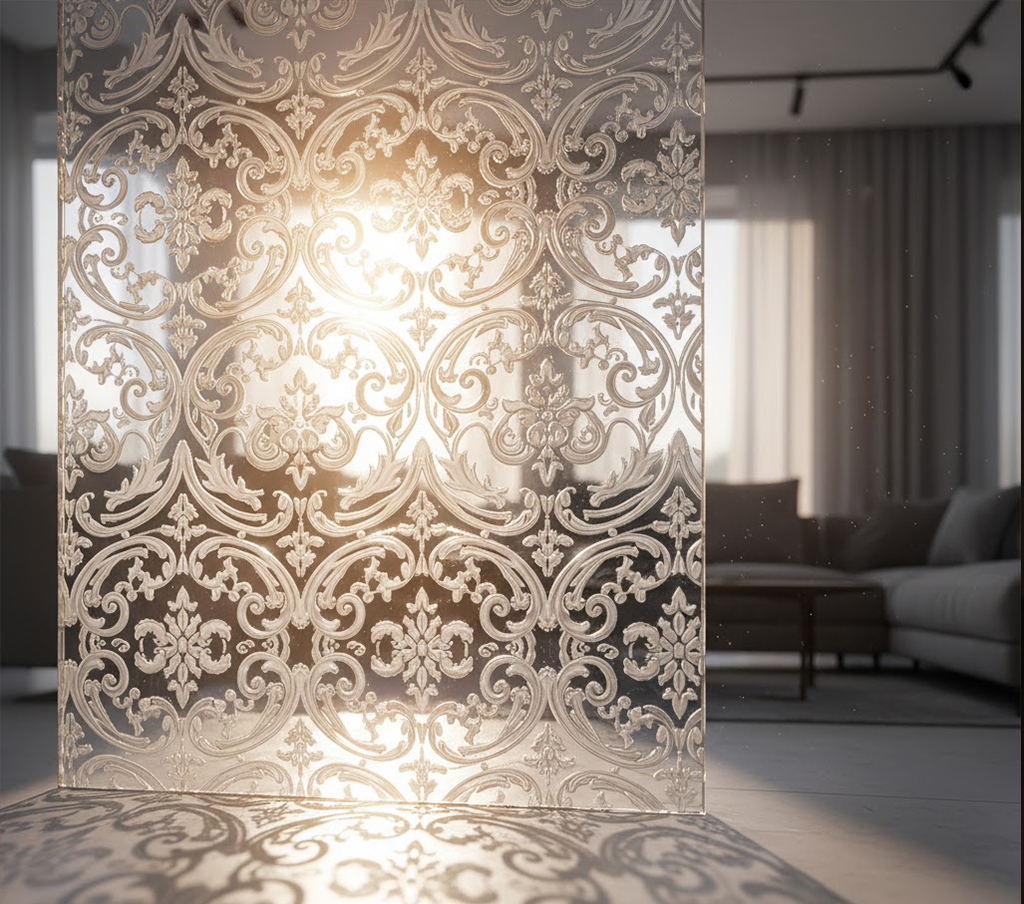
Case 2: The "Etched-Glass" Alternative (For Acrylic/Glass-Alternative Clients)
Achieve the premium, weighty feel of deep-etched or sandblasted glass at a fraction of the cost and with full-color capabilities. Unlike traditional etching, which creates a matte, frosted texture, our "Liquid-Glass" varnish finish provides a tactile, high-gloss 3D texture that traditional glass-etching simply cannot replicate.
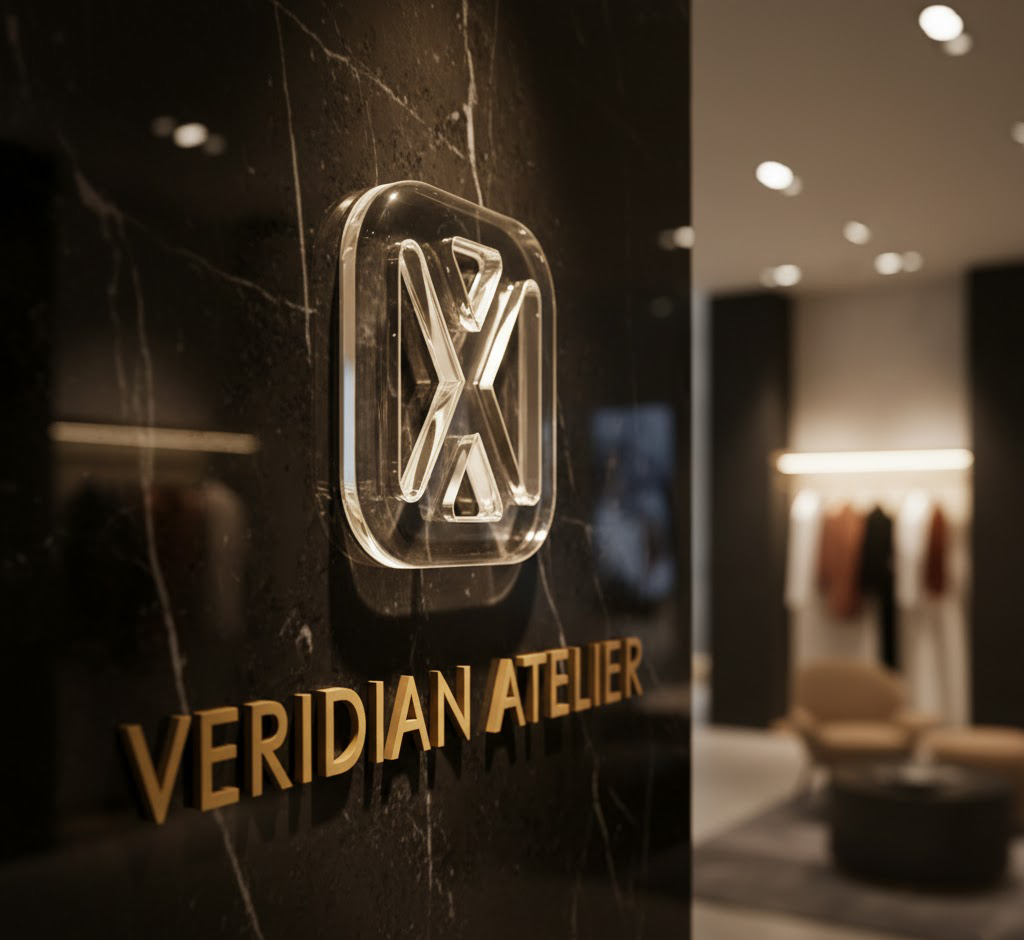
This technique is ideal for creating tactile logos and wayfinding signs. The high-gloss, 3D effect gives a brand mark a sense of "permanence" and "premium quality" that flat printing lacks. It encourages touch and creates a memorable sensory experience, significantly increasing brand recall.

You focus on the design; we handle the technical risks.
File Pre-Check: How We Fixed a Designer's "Muddy'" Logo
Most designers send us 2D files that look great on screen—but 3D printing adds a whole new layer of complexity (pun intended). Last month, a graphic designer sent over a logo with tiny text (12pt) and intricate lines, planning to print it at 0.5mm height. Our pre-check team flagged it immediately.
'At that height, the text would turn into a blurry mess,' said Mia, our file optimization specialist (she’s been fixing 3D print files for 5 years). We suggested adjusting the height to 0.3mm and thickening the text lines by 0.1mm. The designer was hesitant at first—until we sent a sample proof.
Now, she sends all her acrylic projects to us first: 'Your pre-check saves me from costly mistakes—I’ve had other printers skip this step and ruin my designs.' We always include this pre-check for free, by the way—no extra charge for peace of mind."
Material Certification
We only use certified non-yellowing inks and varnishes. Our substrate of choice is premium-grade cast acrylic, selected for its superior optical clarity and stability, ensuring your project lasts
Sample Proofing
Don't commit to a full production run blind. We offer pre-production proofing so you can see and feel the "Liquid-Glass" effect firsthand. This tactile approval ensures the final product meets your exact specifications.
A: Acrylic is the perfect partner for UV printing. It boasts exceptional optical clarity (up to 92% light transmittance), which is essential for transparent effects. Unlike many plastics, it has high weather resistance and is not prone to yellowing. It provides "the vision of glass with the processability of plastic." Critically, its surface energy is stable, allowing for a strong, permanent bond with UV-curable inks.
A: Standard UV printing creates a flat (2D) image. UV 3D printing is an additive process that uses the same UV-curing technology but builds the ink in many precise, successive layers. By curing each layer instantly, we can build physical height and texture. When applied to transparent materials, this technique unlocks a unique combination of 3D relief, optical light transmission, and specular (mirror-like) reflection.
A: No, not in the unprinted areas. The print is only applied where the design dictates. In all other areas, the acrylic's original 92% light transmittance and optical clarity are perfectly preserved. The high-gloss varnish we use is also optically clear, enhancing rather than obscuring the material.
A: The printer's capabilities are key. Our systems are designed to handle substrates like 5mm acrylic or thicker. The critical factor isn't just the printer's physical clearance but its Z-axis precision, printhead technology, and the software's ability to manage multi-layer passes without registration errors.
A: While it's technically possible to stack ink very high (e.g., 1mm or more), we find the most effective high-gloss relief is achieved in the 0.2mm to 0.5mm range. As we've discussed, optimal definition and "liquid-glass" brilliance come from precision and curing control, not just raw height.
A: We tested this firsthand—and so did an independent lab. Last year, we installed 10 acrylic signs for a coffee chain’s outdoor patios (exposed to rain, sun, and even occasional wind). We used our standard adhesion promoter + stepped-curing process, plus the non-yellowing varnish.
After 12 months, here’s what we found: The prints had zero peeling (even where rain hit daily), and the scratch resistance was still strong—you could wipe them with a rough cloth without damaging the design. Independent lab LabCo tested our samples too: They rated the abrasion resistance at ASTM D4060 Class 3 (that’s the highest rating for outdoor plastics).
One caveat: If you’re using acrylic thinner than 3mm outdoors, we recommend adding a metal frame—we had one sign warp slightly in extreme heat (104°F/40°C) because it was too thin. Learned that the hard way a few years back."
Author: Eason Li — Senior Application Engineer at Refinecolor Technology Co., Ltd.
Experience: 12+ years in UV printing system integration and ink material optimization.
Past Projects: Led over 200 successful installations of raised UV and 3D embossed printing machines for packaging, signage, and art reproduction applications across Europe and Asia.


