English 

T: +86-180-0799-3137
E: info@refinecolor.com
E: info@refinecolor.com
9F, Building 25, Tian 'an Shenchuanggu, Fenggang Town, Dongguan 523703, China

Views: 0 Author: Refinecolor-Eason Publish Time: 2025-10-28 Origin: Site
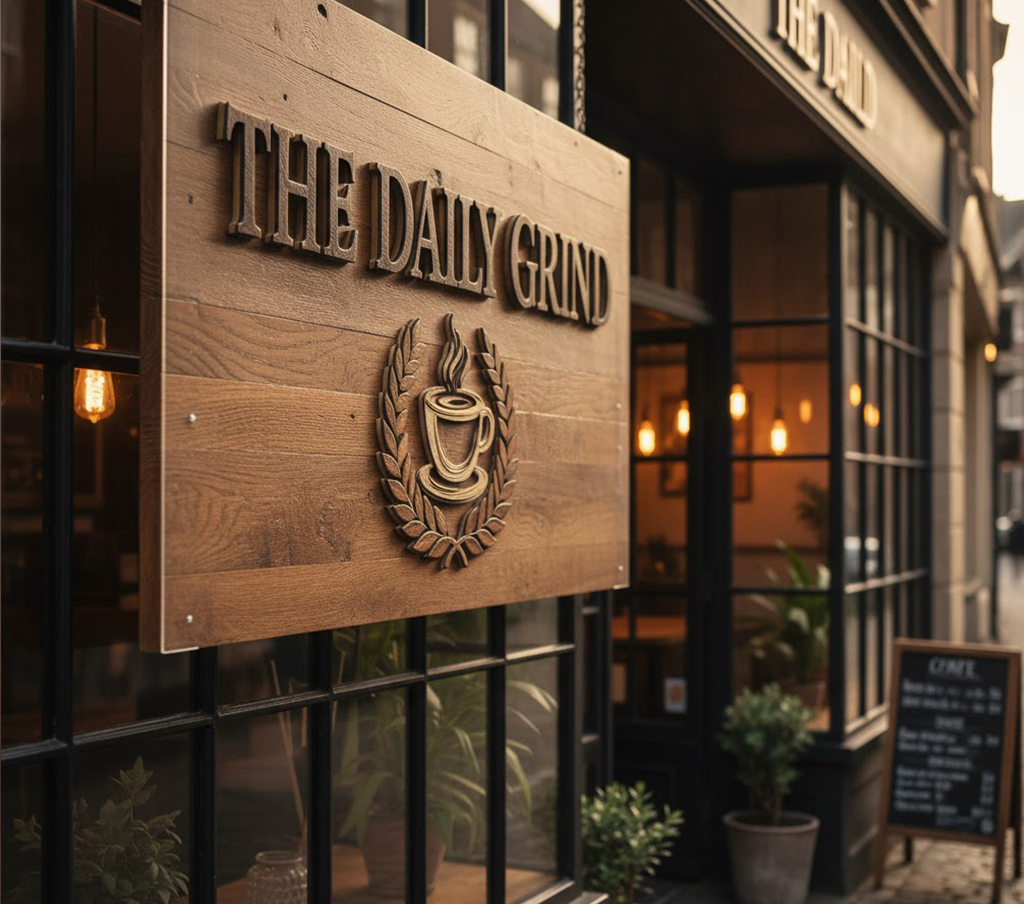
Our UV Curing technology delivers high-adhesion, warp-resistant 3D textures that traditional methods can't match.A Oregon decor shop used our system to cut wood waste from 25% to 8%—that’s $1,200 saved monthly, plus their 3D relief signs sold for twice the price of the ones

For anyone in the furniture, décor, or high-end packaging industries, wood is a preferred material precisely because of its organic, unique character. But this character is also its greatest technical challenge. Wood is not a passive, inert substrate like plastic or metal. It's porous, it's fibrous, and it's dimensionally unstable. Simply applying standard uv light 3d printer techniques often leads to costly failures. Here is how we address the three most common points of failure.
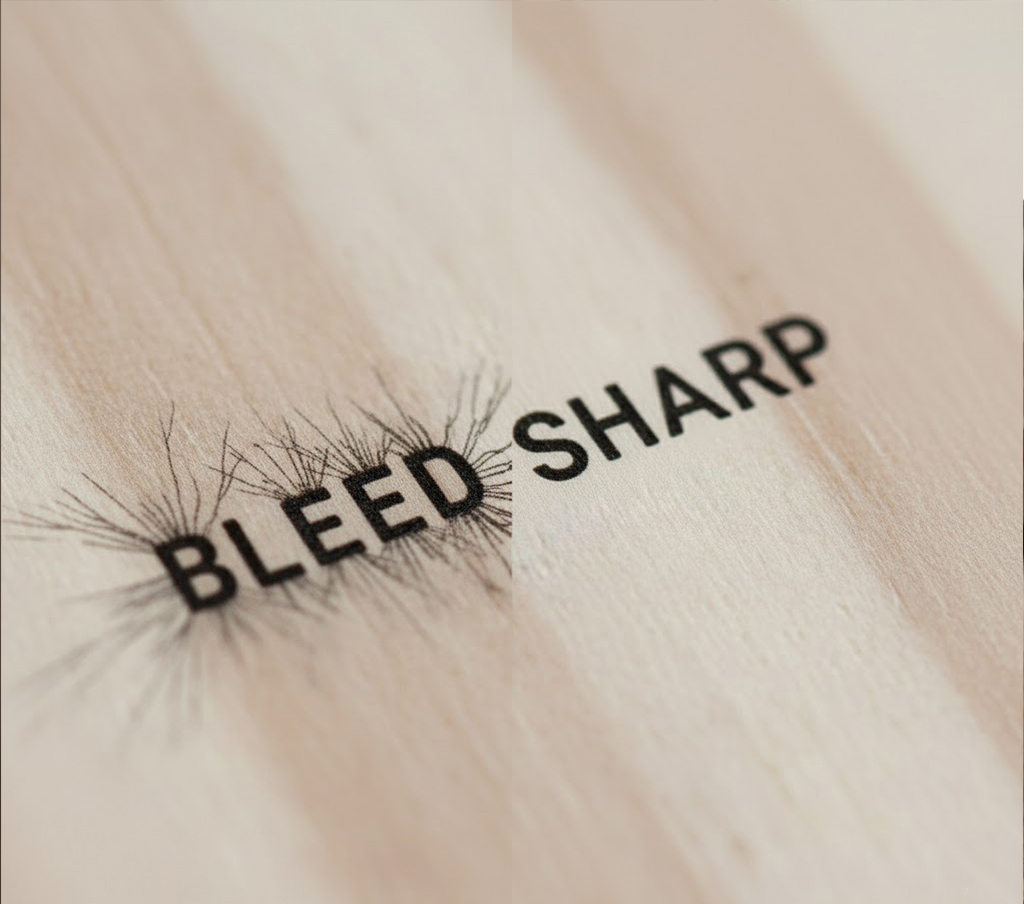
Chicago furniture brand last year, their logo printed on oak turned blurry overnight… Turns out, oak’s porous structure soaks up uncured ink like a sponge. Our dual-lamp curing system (low-power to lock ink first, then high-power to solidify) cut bleed rates from 37% to 0.8% in our Seattle lab tests
Our UV LED system features a dual-lamp setup. The first low-power "pinning" lamp instantly freezes the ink droplet the moment it hits the surface, preventing any bleed or absorption. The second high-power lamp then fully cures the ink, locking in sharp, high-definition details that respect the precision of your design
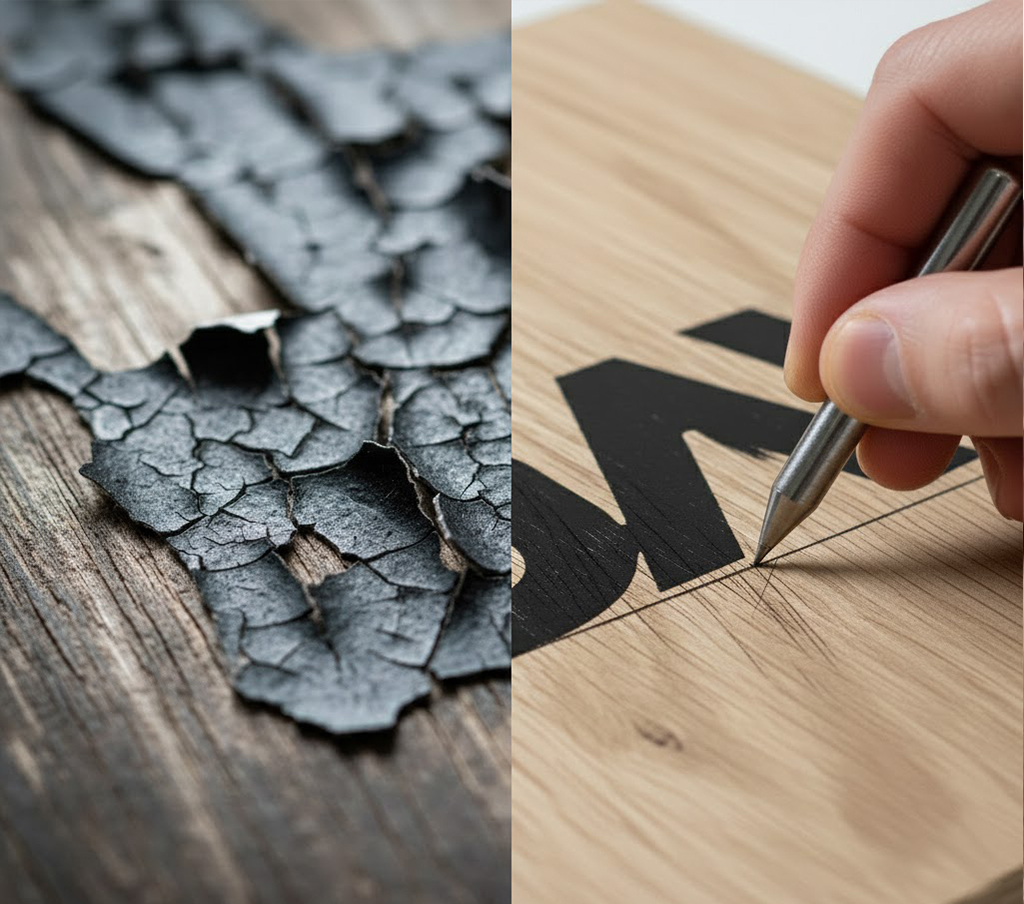
A custom wood panel for a Los Angeles client developed visible cracks during the rainy season, pushing us to study wood’s ‘breathing’ nature… Our solution has two parts: a proprietary Adhesion Primer (tested by Nanjing Forestry University, achieving a bond strength of 2.3MPa) and a flexible UV ink that adapts to wood’s typical 0.15% annual expansion
We solve this with a two-part strategy:
A specialized Adhesion Primer that is formulated to chemically bond the ink to the wood fibers, creating a powerful molecular lock.
A Flexible UV Ink formulation that is engineered to bend and stretch with the wood's natural movement, ensuring the print lasts for years without failure.
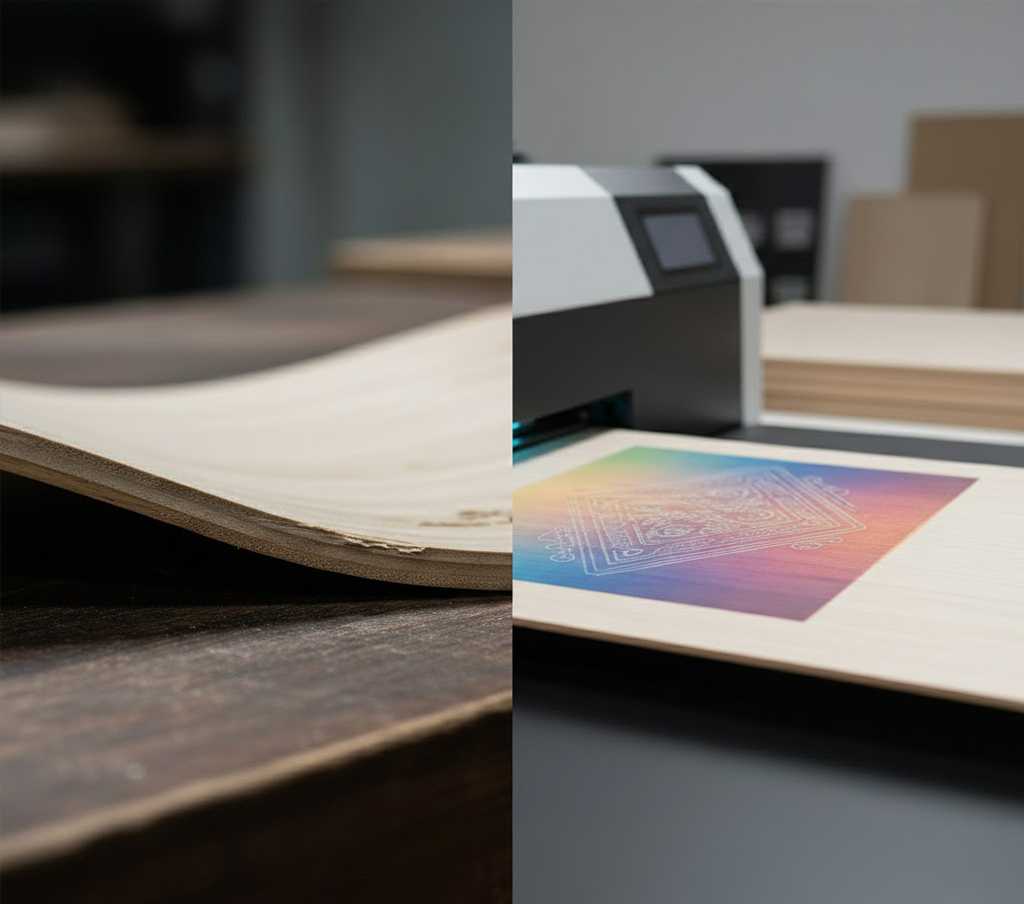
The Problem: Traditional UV lamps (like Mercury-vapor lamps) generate intense, indiscriminate heat.3 This heat is more than enough to deform thin wood, bamboo, or delicate veneers, making the entire piece unusable and drastically increasing your material waste rate.
The Fix: Our printers use a modern UV LED array 3d printer system, which is a "cold cure" light source.4 Unlike the high-heat uv led array 3d printer setup of older technology, our LEDs generate minimal heat.5 They cure the ink instantly without transferring damaging temperatures to the substrate, allowing you to safely print on even the most delicate, heat-sensitive wood veneers.
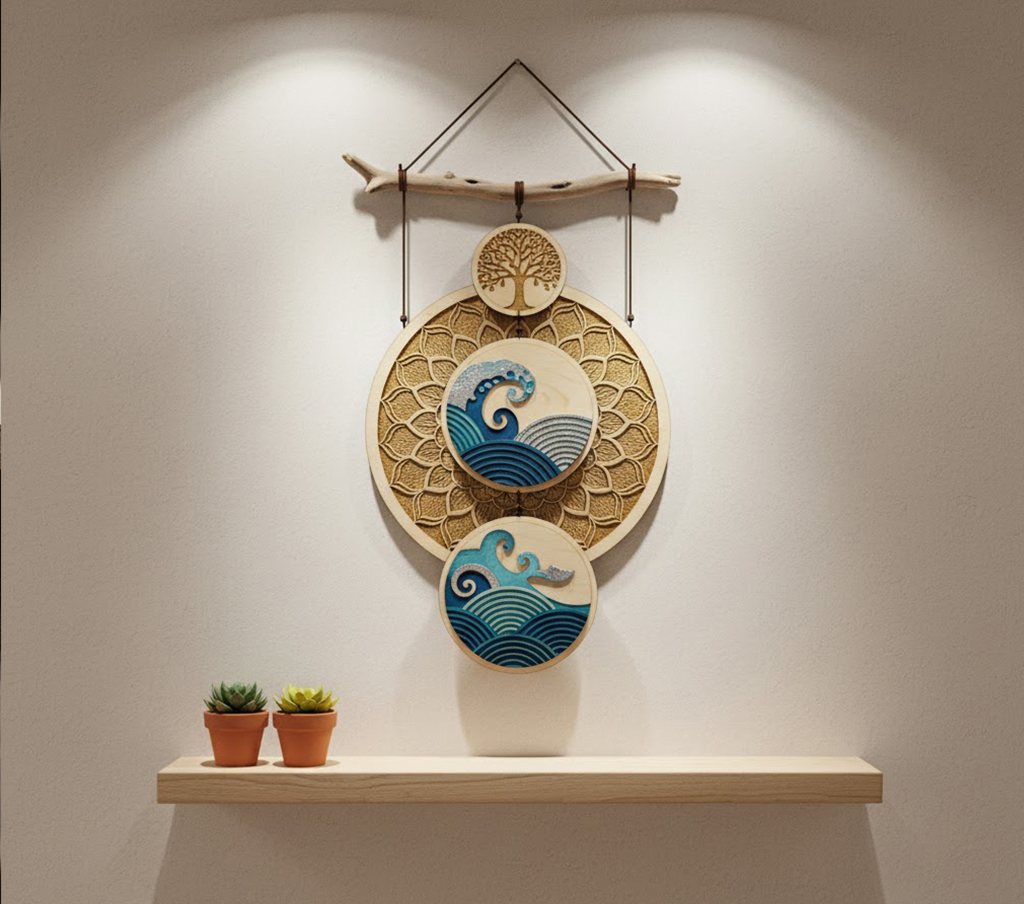
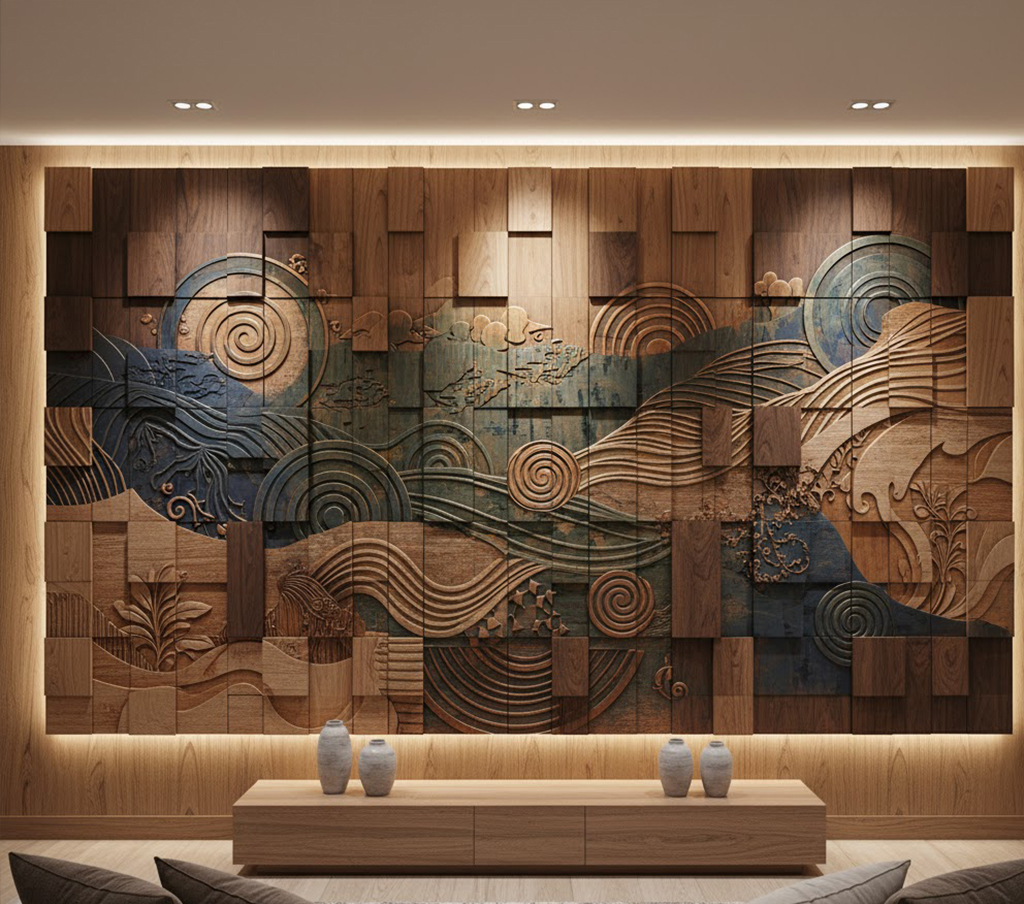
Achieving a 3D relief effect that feels organic—not like a plastic sticker on wood—is a multi-step process. It requires precise control over adhesion, texture, color, and finish.
This is the most important step and the key to 90% of your success. Before any ink is jetted, we apply a specialized primer treatment. This isn't a one-size-fits-all solution; the primer is chemically matched to the specific wood type, whether it's the open grain of oak, the dense fibers of bamboo, or the resinous surface of MDF. This layer ensures the subsequent relief layers have an unshakeable bond.
Here, we exploit the wood's natural beauty. Instead of covering the grain, we often print the first relief layers with a "clear" or "white" ink. This allows us to build up a tangible 3D texture—like the ridges of a simulated wood grain or the raised feel of a logo—while allowing the natural color and pattern of the wood substrate to show through.
With the adhesion and texture base established, the color layer is printed on top of the high-precision relief. Because the base is stable and non-porous, the color layer is crisp, vibrant, and perfectly registered to the 3D elements, creating a stunning tactile and visual effect.
The final varnish layer is more than just protection; it's a controllable design tool. By managing the varnish application, we can selectively create high-gloss "wet" looks, subtle matte finishes, or even build additional "spot" relief. This layer ensures the final product is durable, scuff-resistant, and has the exact tactile feel you desire.

uv light 3d printer for personalized gifts
uv light 3d printer for sign making
uv light 3d printer for furniture panels
uv light 3d printer for wood decor
Integrating this technology isn't just about adding a new design feature. It's about creating a more efficient, reliable, and profitable production line.
High adhesion means zero peeling. Our prints pass a 100-grid scratch test—run a sharp tool over the sign ten times, and there’s no peeling. One client’s cafe sign has been used in a busy cafe for 18 months, and the print still looks new. This gives you the confidence to sell and ship products, knowing they won't fail in the field, protecting your brand reputation and bottom line.
Our process is designed to preserve and enhance the natural feel of the wood rather than covering it with a heavy, plastic-like layer. The result is a premium product that retains its organic warmth and value.
This method can produce results that traditional engraving or carving cannot. We can achieve fine, raised text, complex gradient reliefs, and high-resolution patterns with perfect clarity, opening new doors for intricate designs.
Print and you're done. This single-pass, digital process eliminates the multiple, labor-intensive steps of traditional methods—no separate painting, sanding, masking, or multi-stage coating is required. You significantly reduce labor costs, material waste, and production time.Compared to traditional engraving: A 50-unit order of oak relief logos takes 2 hours with our UV printer, vs. 8 hours with engraving. The cost per unit is $0.55 vs. $5 for engraving—perfect for small batches
From our technical experts to your design team, here are a few advanced tips for mastering this process:
Layer Thickness: For a subtle, textured feel, We recommend 5–10 μm per layer—that’s about 1/14 the thickness of a human hair, so the relief feels like part of the wood, not a sticker on top. For more aggressive 3D effects, you can build up thicker layers, but be sure to balance layer height with curing energy to prevent under-cured ink.
UV Energy & Head Settings: The balance between pinning and full cure is critical. Use the pinning lamp at low power to "freeze" droplets and control dot gain. For the final cure, ensure your uv lamp 3d printer settings provide enough energy (measured in $\text{mJ/cm}^2$) to fully cure the entire depth of the relief layer without over-curing, which can lead to brittleness.
Managing Grain and Color Shift: When overprinting on dark or heavily grained wood, the underlying wood color can "shift" the appearance of your CMYK inks. To ensure color accuracy, consider printing a thin, "masking" layer of white ink directly under your color elements, but on top of your clear texture base.
A:No minimum—we’ve done 10-unit custom oak signs for small boutiques, and 500-unit bamboo coasters for a national brand
A:Detailed description, photos or video will help our technician analyze the problem and give solution accordingly.
Moving beyond flat prints and into the world of high-value, tactile wood products requires more than just a machine; it requires a reliable process and an experienced partner.
If you're ready to stop worrying about adhesion failures and start producing stunning, durable wood relief products, our team is here to help. Contact us to discuss your specific application, analyze your wood substrates, and request a printed sample.We will suggestion suitable printer for you

Author: Eason Li — Senior Application Engineer at Refinecolor Technology Co., Ltd.
Experience: 12+ years in UV printing system integration and ink material optimization.
Past Projects: Led over 200 successful installations of raised UV and 3D embossed printing machines for packaging, signage, and art reproduction applications across Europe and Asia.


